Want to make your site layout more attractive and more stylish with custom CSS in the Generatepress Premium theme?
If yes, you are on the right page.
In this post, I will be sharing the GeneratePress Theme Customization Using CSS that you can use to create your website like a pro site.
So let’s get started without wasting time.
- Why To Use GeneratePress Premium Theme
- Step By Step Guide To Implement Custom CSS in Your Site
- FAQs For Generatepress theme customization using CSS
Why To Use GeneratePress Premium Theme
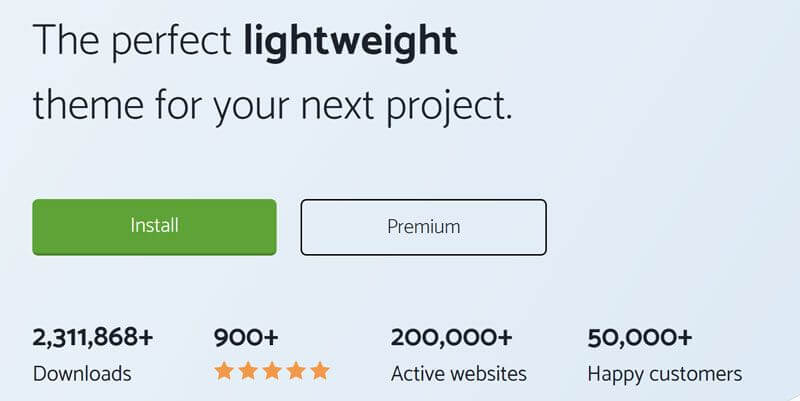
The major things to consider while purchasing a WordPress theme are –
- Lightweight
- Mobile – responsive
- SEO Optimized
- Lighting Speed
I’ve tried many themes out there, and GeneratePress is one of the best solutions.
But wait.
First of all, you need to know What is generatepress premium? And why it is necessary for your blog. let me clear your doubts about the Generatepress premium theme and why you should use it.
GeneratePress is a multi-purpose WordPress theme designed by Tom Usborne that comes with free and paid versions.
It’s a simple looking lightweight and mobile-responsive theme that I’ve been using for a long time.
Generatepress Premium is the most popular and lightweight theme that is used by many popular bloggers like Kulwnat Nagi, Anil Agarwal, Digital Deepak, and many more.
If these popular bloggers are using this premium theme, then, for sure, there is something special in this theme.
Step By Step Guide To Implement Custom CSS in Your Site
First of all, you need to know where to implement these custom CSS in your WordPress site so that your site will get the perfect application of these codes.
Below is the step-by-step guide where you can paste below given all custom CSS codes:-
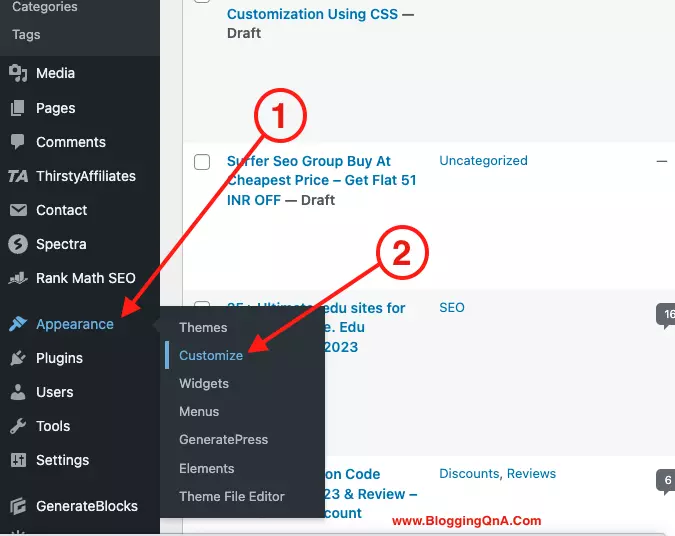
STEP 1: First, log in to your wordPress site, and there in the left side navigation bar, you will the appearance section. Hover on that and click on the customize button.
Below you can the see image for reference.
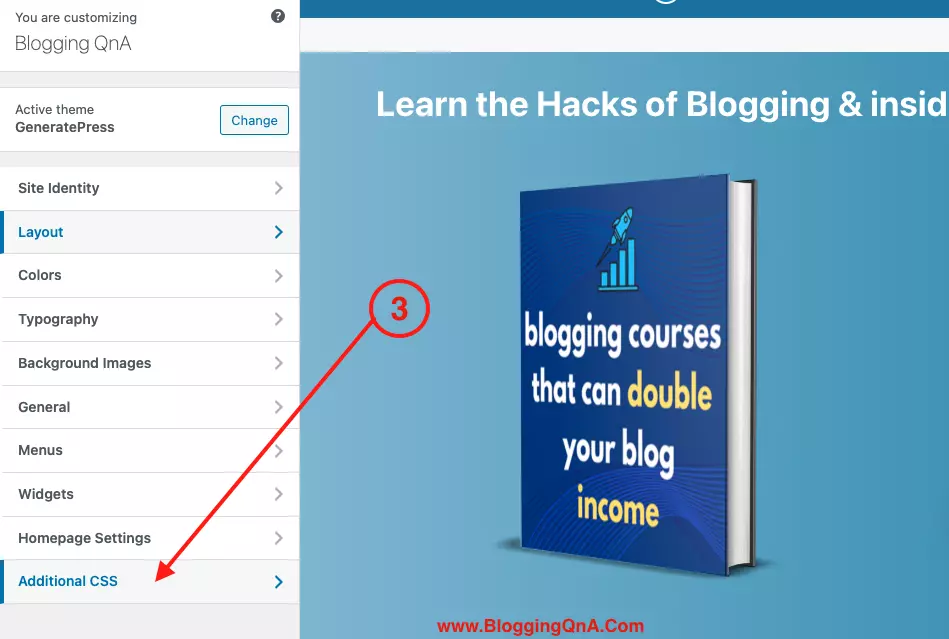
STEP 2: After this, your wordpress site customization section will be live in front of you. There in the left navigation bar. Select the last option additional css tab. Check the below image.
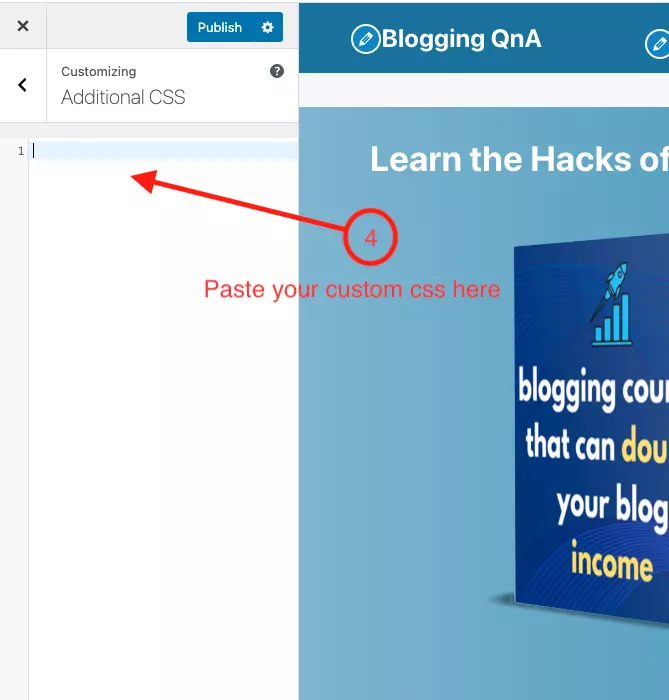
STEP 3: Now, this is the third step, in the additional css box you have to paste all the custom css to get the best design for your site.
Congrats!! You are all set to go with your attractive wordpress site with GP Premium theme.
Custom CSS For Showing Read More as A Button
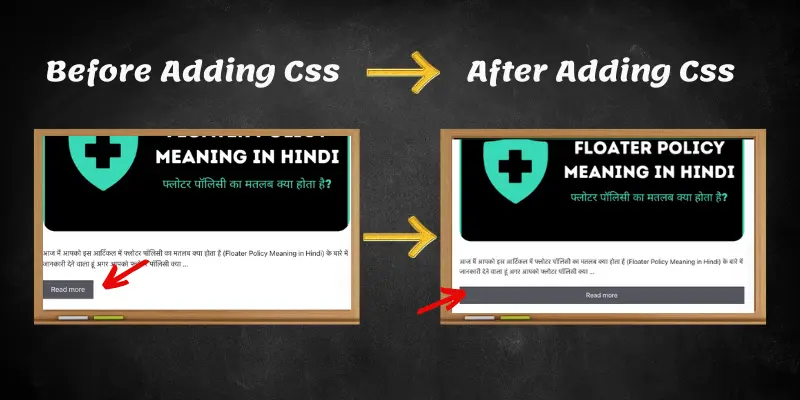
By Default in your GP Premium theme the wordpress read more button is small. To get the read more button to full size. Just copy and paste the below-given css to your additional css box.
a.read-more {
    width: 100%;
    box-sizing: border-box;
    text-align: center;
}
Custom CSS For Black Border Shadow For Every Image
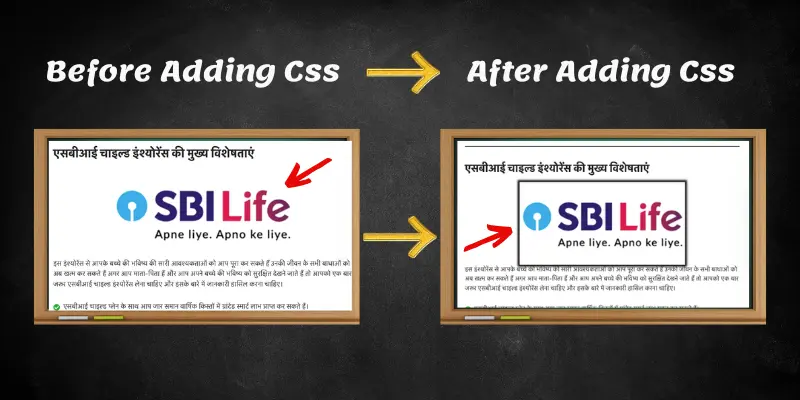
To make all your site images more attractive and more highlighting, you can use the below-given custom css. The below custom css will add an amazing black border to all images which will highlight them and make the post more attractive to users.
.single .wp-block-image img {
	border-radius: 5;
        box-shadow: 0 0 5px 5px rgba(1,1,0)
}
Custom CSS For RankMath FAQs
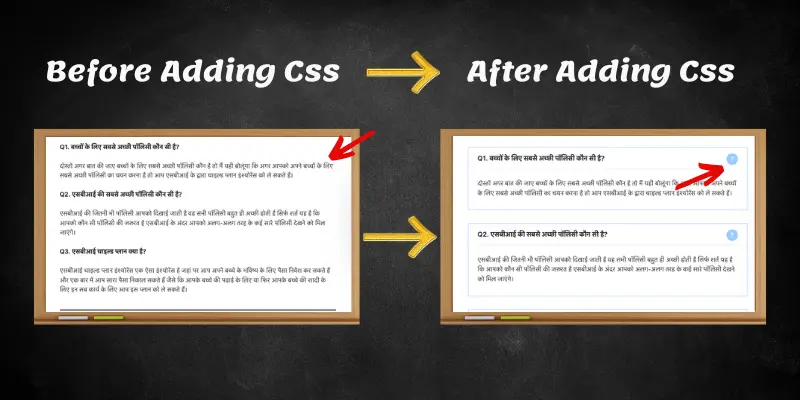
By default when you use rankmath faqs in your blog posts, it looks very simple and ugly. But by using the below given custom css for rank math FAQs you can make them more attractive and more stylish.
Below you can see the result in the image. Also, I have shared 2 different css for Rankmath faqs. You can use any one of them at a single point in time.
Style number 1
.rank-math-list-item {
    box-shadow: 0 0 10px 0 rgba(0,0,0,0.15)!important;
    padding: 20px;
    margin: 15px 1px;
    border-radius: 5px;
}
.rank-math-question {
    border-bottom: 1px solid rgba(0,0,0,0.2);
    padding-bottom: 10px;
}
.home .entry-content:not(:first-child){
    margin-top:0;
}
Style number 2
/* Rank Math FAQ CSS Starts */
.rank-math-question:before, .rank-math-question:after {
content: "?";
position: absolute;
right: 0;
top: 0;
width: 30px;
line-height: 30px;
text-align: center;
color: #ffffff;
background: #99ccff;
border-radius: 50px;
}
.rank-math-question {
border-bottom: 1px solid #e6e6e6;
padding-bottom: 0.825rem;
position: relative;
padding-right: 40px;
font-size: 1.05em;
font-weight: 600;
}
.rank-math-list-item {
padding: 15px 25px 5px 25px;
border: 1px solid #99ccff;
background: #ffffff;
margin-bottom: 35px;
margin-top: 2rem;
}
/* Rank Math FAQ CSS Ends */
Custom CSS For Sticky SideBar in GeneratePress Premium Theme
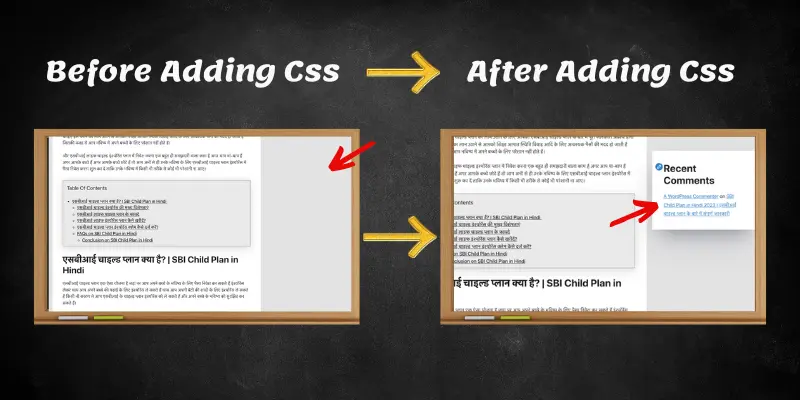
In generatepress theme, you don’t get any feature to make your sidebar widget sticky. But with the below-given custom CSS, you can make it in just a few seconds.
Your sticky sidebar can easily increase your conversion rate, and make more sales from your blog. Also if you have monetized your blog with Adsense. You can easily place sticky sidebar ads all the time.
This will also help you to increase your AdSense earnings.
/* Sticky Right Sidebar CSS Starts */

@media (min-width: 769px) {
    .site-content {
        display: flex;
    }

    .inside-right-sidebar {
        height: 100%;
    }

    .inside-right-sidebar aside:last-child, .wplast {
        position: -webkit-sticky;
        position: sticky;
        top: 50px;
}

/* Sticky Right Sidebar CSS Ends */
Custom CSS For Sidebar Box Shadows

The above-given css is to make your sidebar sticky. Now to make that sidebar more attractive you can make your sidebar more highlighting by adding shodow to all the sidebar boxes.
.sidebar .widget {
	box-shadow: rgba(50, 50, 93, 0.25) 0px 50px 100px -20px, rgba(0, 0, 0, 0.3) 0px 30px 60px -30px;
margin-bottom: 40px;
}
Custom CSS For Scroll Bar
With the below given CSS, you can make your scroll bar colorful. You can customize the height, weight, and length of your scroll bar.
/* Scroll Bar Color Css Starts */
	*::-webkit-scrollbar-track
{
	-webkit-box-shadow: inset 0 0 6px rgba(0,0,0,0.1);
	background-color: #F5F5F5;
	border-radius: 10px;margin-left:-10px!important;
}

*::-webkit-scrollbar
{
	width: 5px;
	margin-left:-10px;
	background-color: #F5F5F5!important;
}

*::-webkit-scrollbar-thumb
{
	border-radius: 10px;
	background-color: #FFF;
	background-image: linear-gradient(to right, #2F719E 0%, #2F719E 51%, #2F719E 100%);
}
		/* Scroll Bar Color Css ends */
Custom CSS For Feature Image Round corner
By default your images will show in a rectangle box. By using the below custom css you can make your all feature image corners rounded and, it will look more attractive and stylish.
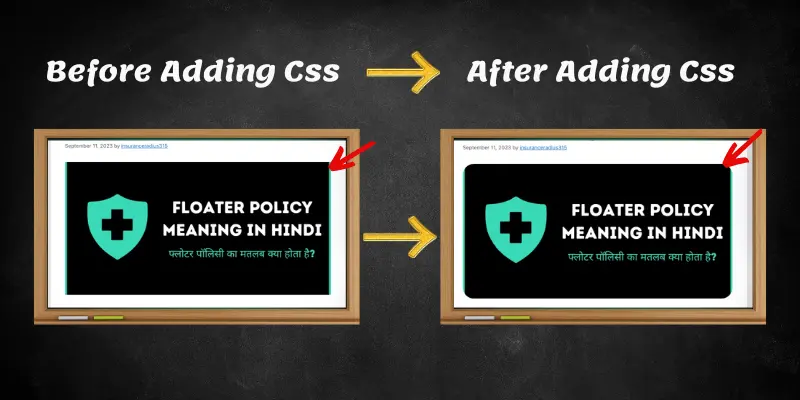
img.attachment-full.size-full {
    border-radius: 20px;
}
.post-image img {
    border-radius: 10px;
}
Apart from this click here to add a custom author box in your GeneratePress Premium theme.
FAQs For Generatepress theme customization using CSS
Below are some faqs related to generatepress theme customization using CSS.
Q1. How to add custom CSS in GeneratePress?
The steps are very simple to add custom CSS to the GP premium theme.
login into your wordPress site
Click on appearance and go to customization
Now click on the additional CSS option to add custom CSS to your gp premium theme.
Q2. How do I add custom CSS to my WordPress theme?
Follow the below steps
login into your wordPress site
Click on appearance and go to customization
Now click on the additional CSS option to add custom CSS to your site
Q4. Is GeneratePress a good theme?
Yes, no doubt it’s one of the lightweight and SEO-friendly themes. I am using this theme on all my money-making blogs.
Final Verdict on Custom CSS For GP Premium Theme
So guys above I have shared all the important custom css that will make your site more attractive and stylish with the GP Premium theme.
In the future, we will be adding more and more custom css to make your site more attractive with this powerful theme. So make sure to bookmark this page for more amazing custom css.
till then check out other blog posts and I will see you in the next one. 🙂 🙂
bhai generatepress theme ke customization me muje bhoot problem aati this but ab mene apka yeh article ko bookmark me add kar liye hai or jab bhi customization me problem aati hai to apka ye article open krke dekh leta hu… Thankyou Mangesh Bhai…
glad it helped bhai.